I know I am not the only person who actually likes fishing for Northern Pike. While they are a slimy ugly looking fish, I have to admit they are very tasty once you get around the Y-Bones. I would have to rank Northern's well within my top five fish to eat, right behind Walleye, Perch and Bluegill. In case you are wondering number five would be catfish. I'm getting hungry just writing this. I may just have to skip the first six hours of the Super Bowl pre-game tomorrow and hit to the ice to see if I can catch a couple northern's for dinner.
When not fly fishing one of my favorite ways to fish is jigging. I have had great success fishing for bass, bluegill, crappie and perch using jigs. As I was walking around the Ultimate Fishing Show last month I happened upon a vendor selling what they called Pike and Walleye jigs. These thing looked very interesting to me. The only problem I had was they were charging $3.50 each and in my opinion I could tie them for much less and of better quality. So here is my attempt of what they were offering. I cannot wait to give these a try this summer. If they work as well as I think they will, I may have to have a big fish fry at my house.
I tied this one in yellow but you can use any color combination you choose. For Pike red and white should be a winner also.
Pike Jig
Pike Jig
Hook -
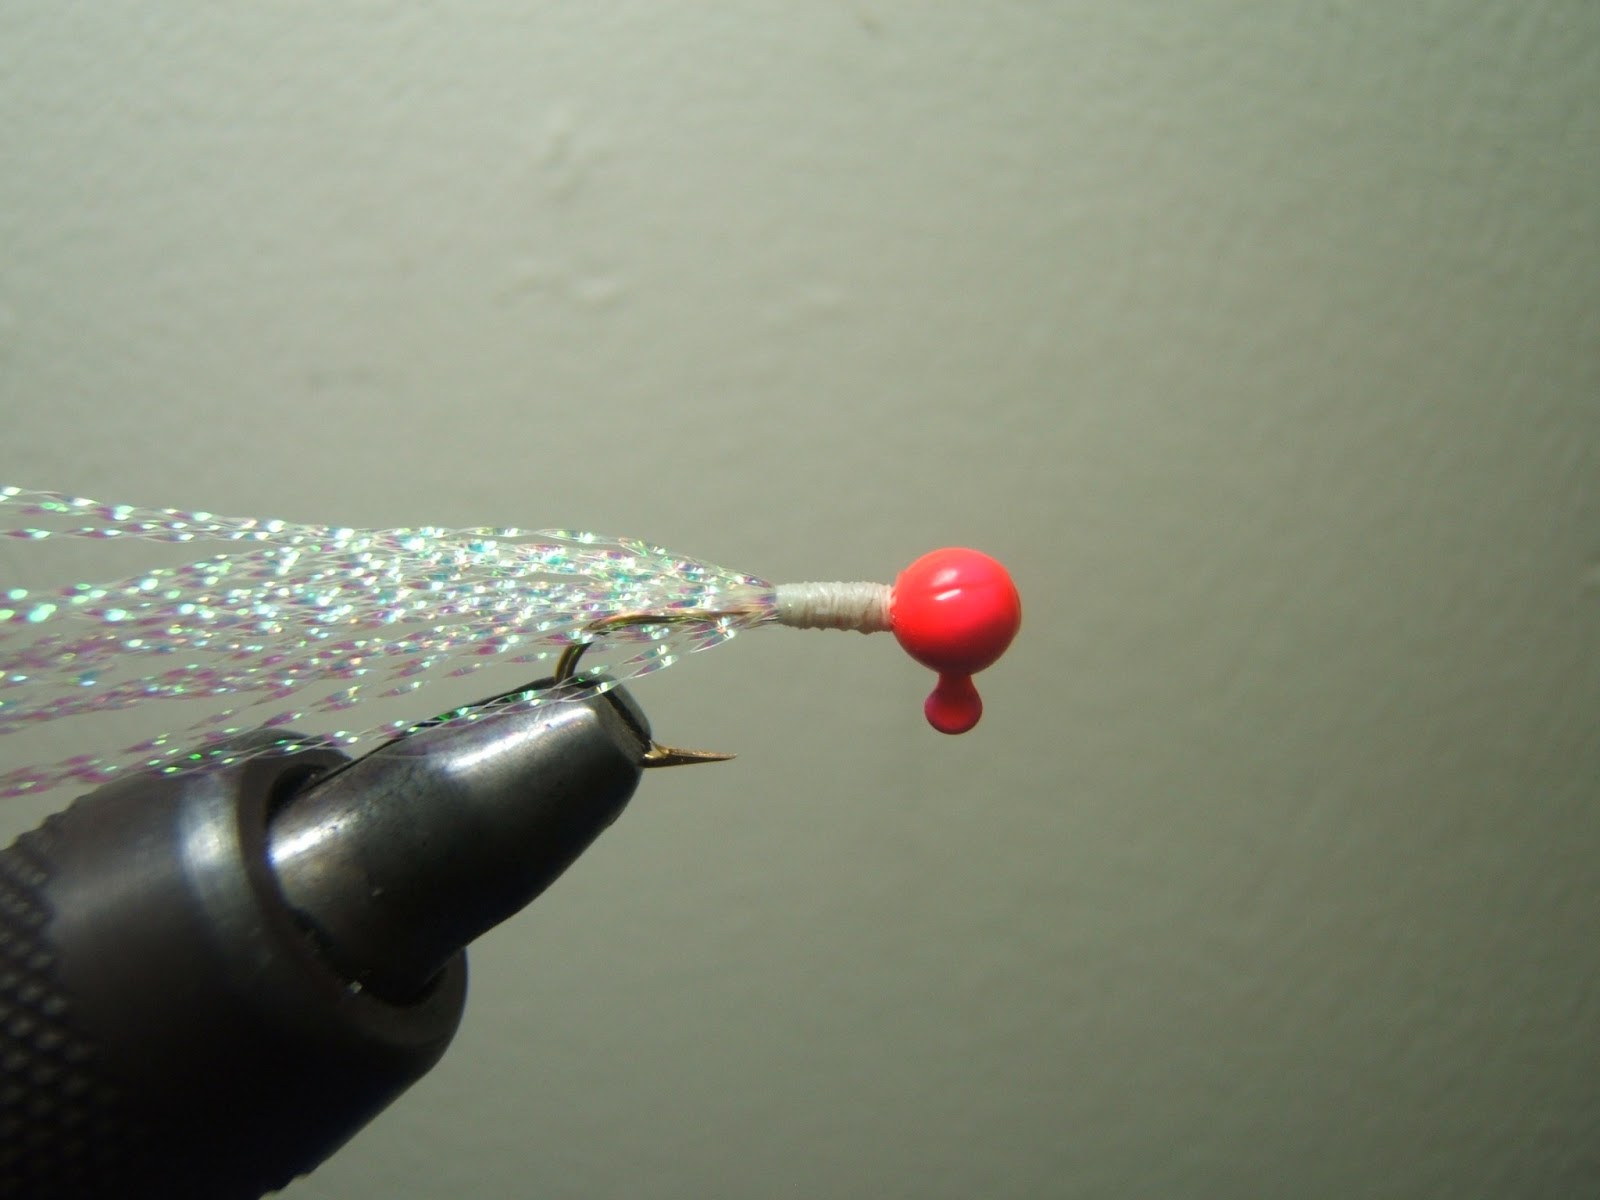
Lead Jig Head
Thread -
Uni 6/0 Yellow
Tail - Black Bear
First Wing -
Yellow Saddle Hackle
Rear Body -
Spun Deer Hair
Second Wing -
Yellow Saddle Hackle
Mid Body -
Medium Yellow Chenille
Upper Body -
Spun Deer Hair
Step One
Start Thread
Step Two
Tie in Bear Hair Tail
Step Three
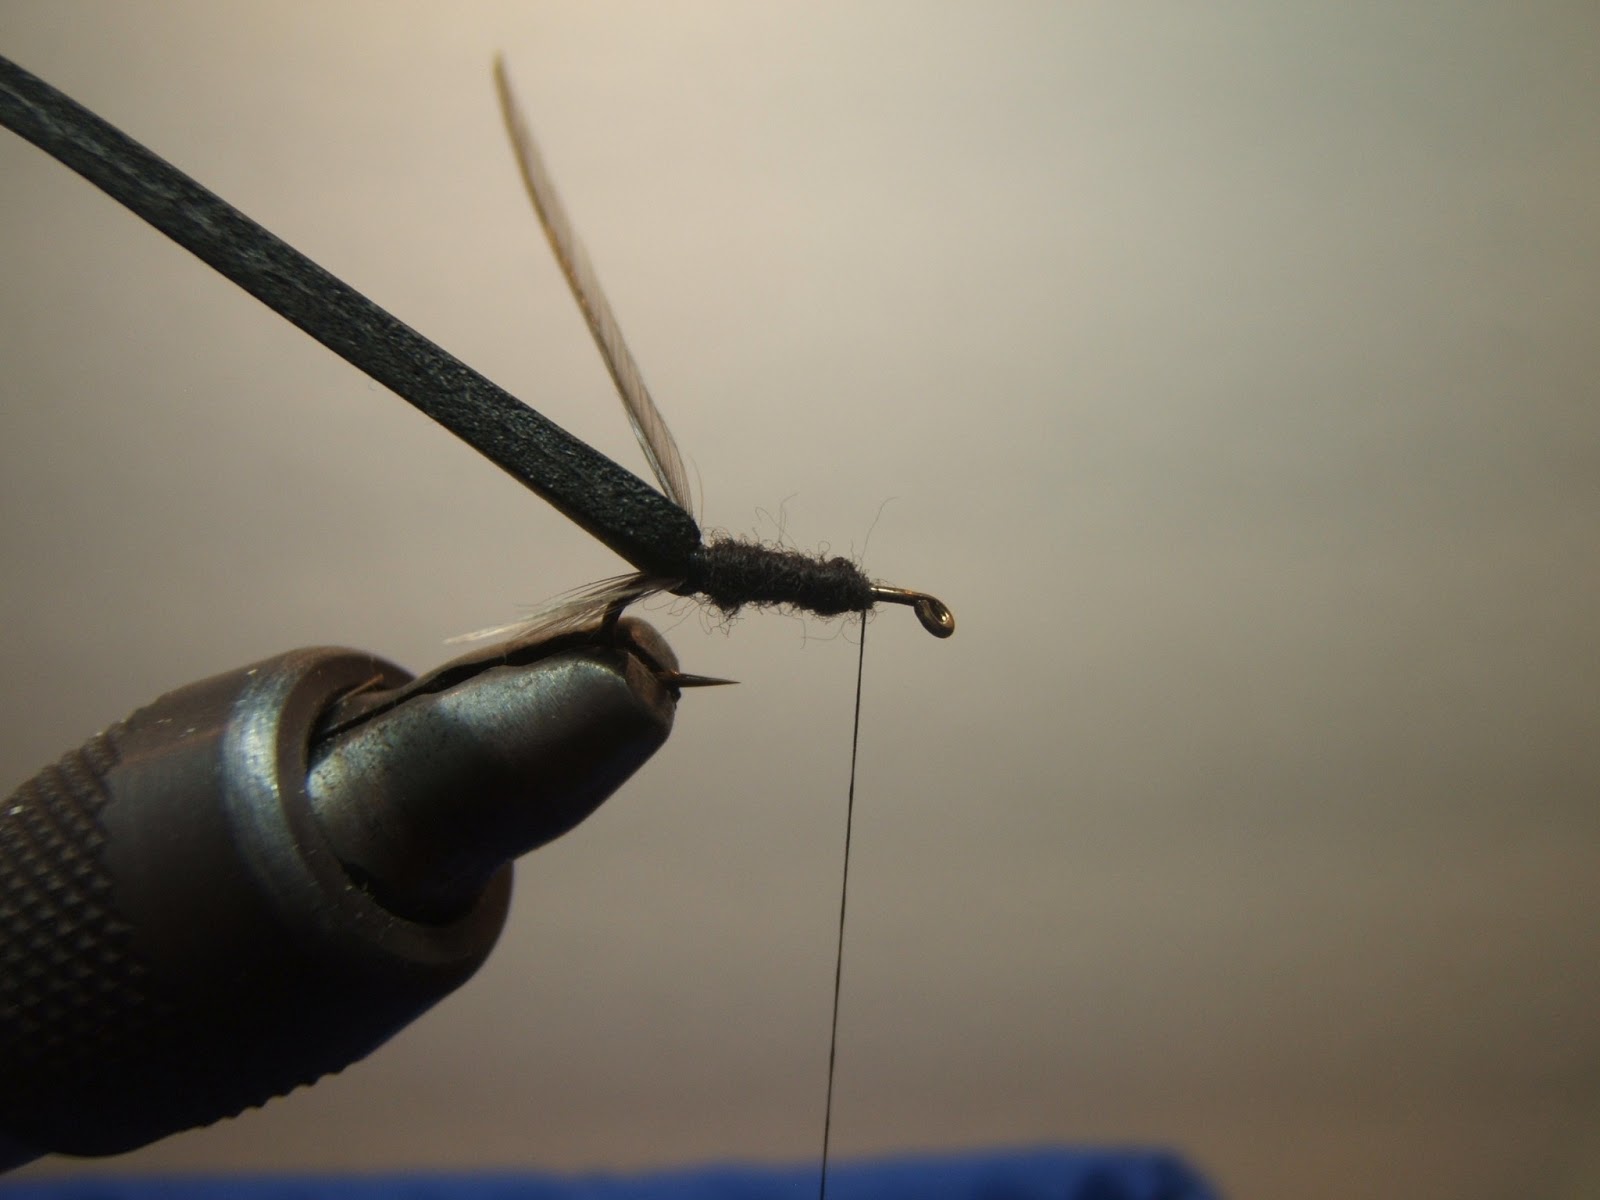
Tie In Far Side Hackle Wings
Step Four
Tie In Near Side Hackle Wings
Step Five
Stack Deer Hair with Tips Pointing to Hook Bend on Bottom
Step Six
Stack Deer Hair with Tips Pointing to Hook Bend on Top
Step Seven
Spin Two Clumps of Deer Hair
Step Eight
Trim Hair and add Wings like in Steps Three and Four
Step Nine
Tie in Chenille and Wrap 2-3 Turns
Step Ten
Stack Deer Hair on Far Side of Hook With Tips Pointing to the Hook Bend To Create Fins
Step Eleven
Stack Deer Hair on Near Side of Hook With Tips Pointing to the Hook Bend To Create Fins
Step Twelve
Spin Two Clumps of Deer Hair and Whip Finish
Trim Deer Hair to Finish
Top Side of Jig